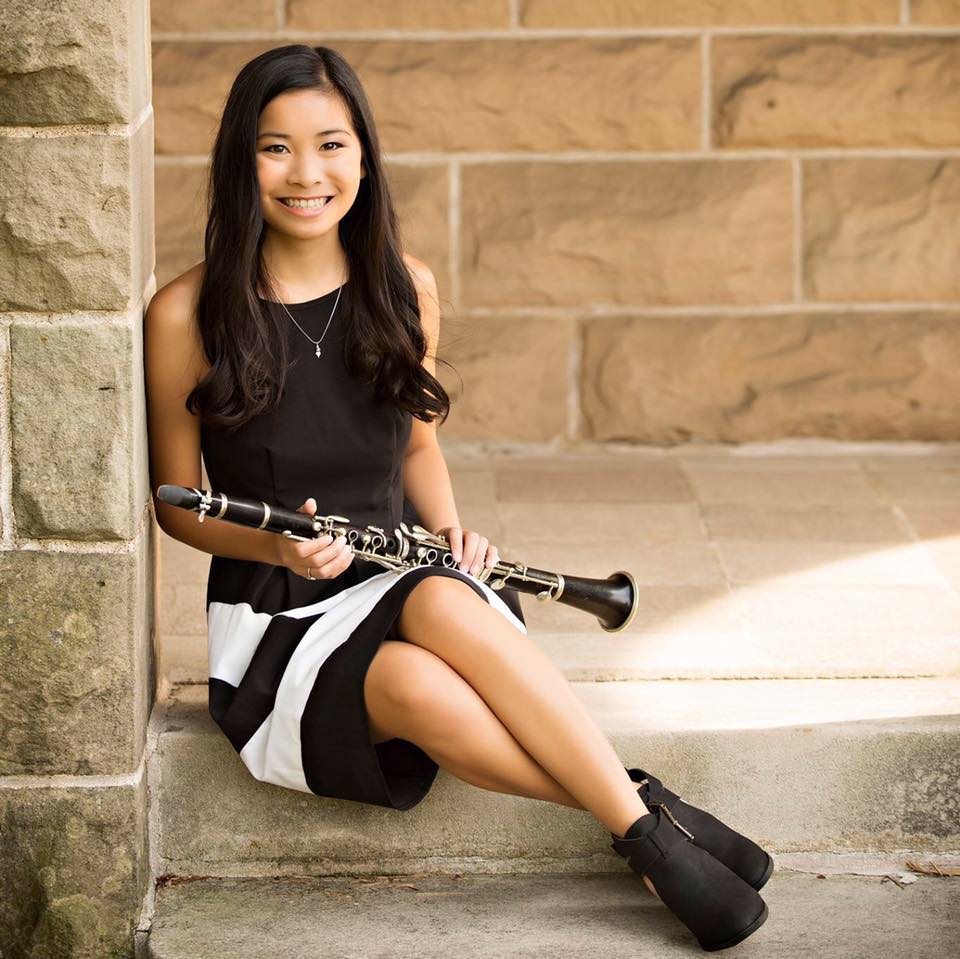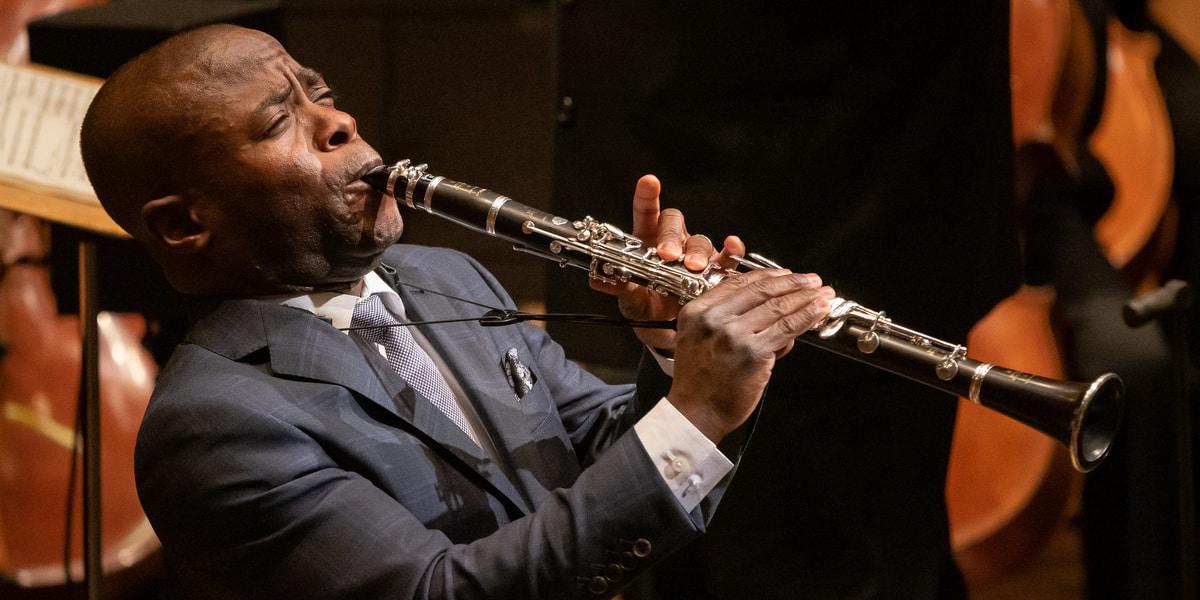
The clarinet embouchure is one of the most important factors in creating and executing a beautiful, in-tune and full sound. It is very important for young clarinetists to learn clarinet embouchure properly right from the beginning. This article will discuss strategies to help clarinetists form the embouchure, techniques and exercises that will strengthen the embouchure over time, and common embouchure mistakes and solutions.
What is an embouchure?
Embouchure is a french word for "holding in the mouth". The embouchure is all of the muscles in and around your mouth that form the formation necessary to hold the clarinet mouthpiece in place. The embouchure is also important for producing a quality sound and tone.
Forming the embouchure
I suggest forming the embouchure with only the reed, ligature, mouthpiece and barrel. That way, you won't be distracted by holding the clarinet or playing notes while forming the embouchure. I also suggest practicing embouchure formation with a mirror or front-facing camera. Since you can't look at your own mouth, a mirror or camera become extremely helpful when forming the embouchure.
The clarinet embouchure consists of five checkpoints. The corners of your mouth, the bottom lip, the top lip, the chin and the top teeth.
The corners of your mouth should be firm. Firm corners stabilize the mouthpiece and helps keep it in place. To help firm up your corners, form your mouth as if you were going to whistle or spit watermelon seeds at someone. While doing so, place your fingers on the corners of your mouth to feel how they are moving. The pressure from firming up the corners of your mouth will prevent air leakage. It will also help balance the sound in each register.
The bottom lip should be slightly curled over your bottom teeth. This provides a cushion for your bottom teeth and for the mouthpiece. Don't roll your entire bottom lip over your bottom teeth. There should still be a little pink showing.
The chin will naturally move downwards and flatten out if the corners of your mouth are firm enough. This allows the reed to vibrate freely. Bringing the lower jaw and chin outward and downward will increase the quality of tone.
Once all of these checkpoints feel correct to the clarinetist, take a deep breath from the diaphragm and blow fast air through the mouthpiece. Make sure to keep the embouchure in position. The pitch that should sound is the F# on the top line of the staff.
I first learned how to form my embouchure from what I call "the milkshake method". I learned this method from my private clarinet instructor. Imagine drinking from a very thick milkshake out of a straw. If you have a straw to use, cover the bottom hole with your finger or pinch it closed so that there is resistance. If you do not have a straw, you can use your pointer finger if you would like. As you pretend to drink the milkshake, you notice that your chin moves downward and flattens out. This allows the reed to vibrate freely. You also notice that the corners of your mouth tighten, as well as move outward and slightly up. The tightening of the corners helps The next step is to practice holding this position while blowing air out. When blowing the air out, try not to pucker your lips because that will bring your chin back up and your corners back in. Keep your embouchure as firm and as in place as you can.
In this video, the formation of the embouchure is explained in many different ways. First, he says to imagine that the corners of your mouth and your cheeks are super-glued to your teeth. Another way to think about embouchure formation is to imagine that you've tasted something very sour and you say the word "ew". Both of these methods make the corners of your mouth move out and up, as well as lower and flatten out your chin. The next step is to roll the pink part of your lip over your bottom teeth. Don't roll your entire bottom lip over your teeth. Next, your top teeth will rest on the top of the mouthpiece. Your top lip will create a seal over the mouthpiece and the corners of the bottom lip. Finally, blow air through the mouthpiece and barrel, keeping your embouchure firm and in-place. If you are a beginner, I recommend practicing this for five minutes every day. Your muscles will become sore and tired, but that means your embouchure is getting stronger! The more you consistently practice, the stronger your embouchure will be. In order to check if your embouchure is firm and tight enough, do the "wiggle test". Form the embouchure and then wiggle the mouthpiece and barrel. If the mouthpiece slides around that means that your embouchure isn't firm enough. Check all of the checkpoints (corners, top lip, bottom lip and chin) to make sure they are firm and in place.
He then explains common problems that occur when practicing this exercise. First, if no sound is coming out and it feels very resistant against your air, that means that there is not enough mouthpiece in your mouth. The reed isn't able to vibrate because the tip is being pressed against the mouthpiece. To fix this problem, simply put a little more mouthpiece in your mouth. This allows the reed to vibrate. If there is no sound coming out and it just sounds airy, that means you aren't blowing enough air. To fix this, firm the corners of your mouth, your top lip and your chin. Then, take a deep breath from your diaphragm and blow fast and full air through the mouthpiece.
Strengthening the embouchure
After practicing or playing for an extended period of time, you will notice that your embouchure muscles are very sore and tired. Much like lifting weights or exercising, you are using muscles that you don't normally on a daily basis. Therefore, they will be quite sore. When your embouchure muscles start to hurt, take a break. It is important that you don't push past your limits. If you keep playing extensively when your embouchure muscles are sore, it increases the chances of muscle strain and injuries.
In order to strengthen your embouchure muscles, you must practice daily. Furthermore, you should have a good warmup routine before you dive into practicing repertoire. Warmup routines ease your embouchure muscles into playing. The best exercise to warm up your embouchure is long tones. Check out my article on clarinet long tones, to learn more!
If the clarinetist is experiencing pain on their top teeth or they can feel their top teeth sliding around on the mouthpiece, I recommend looking into mouthpiece patches. These mouthpiece patches provide a cushion for the top teeth, as well as protect the mouthpiece against teeth marks.

Common embouchure mistakes
A common mistake made by clarinetists who are still developing their embouchure is bunching the muscles in the chin and the lower lip, as well as biting. You may see this in students because they are trying to control their sound and/or intonation with their embouchure. Encourage your students to firm their corners even more because that will naturally pull their chin down. With that, encourage them to make their top lip more firm. The top lip is often forgot about, but it plays a big role in controlling the intonation of the sound.
Clarinetists with underdeveloped embouchure muscles may puff their cheeks. They will puff their cheeks because their embouchure muscles are still not strong enough or they are tired. In order to fix puffed cheeks, encourage the students to take a break when their embouchure is sore. Furthermore, remind the students to check their embouchure checkpoints. Pull the chin down and firm up the corners.
Students with embouchure issues may be holding the clarinet at an angle that is too close to the body or too far away from the body. If the clarinet is too close to the body, it will disrupt the top lip and the chin. This will cause the sound to become thin. It also could cut off the sound because the air is not able to fill up the clarinet. If the clarinet is too far out from the body, it will disrupt the bottom lip and the chin. This will cause the sound to sound blunt and honky. In order to fix the angle of the clarinet, have the students experiment with different angles. The exercise I did when I was learning was sustaining a note while moving my clarinet towards my body and then away from it. This allows you to hear the sound at every angle, as well has show you where your sweet spot is.
Closing thoughts
In my opinion, the clarinet embouchure is the hardest aspect of the clarinet. I have played the clarinet for eleven years and there are still aspects of my embouchure that need improving. Clarinet embouchure takes a lot of patience and hard work. Keep practicing daily with a mirror, take breaks often, check your embouchure checkpoints and don't fall into bad habits.