Learning how to clean a flute is one of the most important things to learn about when you first get your instrument. We’ll discuss the basics of cleaning your flute, and the supplies you’ll need to do it.
How to Clean Your Flute
Cleaning your flute is the best way to keep your instrument playing for years to come. Most of the instrument issues I’ve seen as a band director, in fact, are caused by improper care!
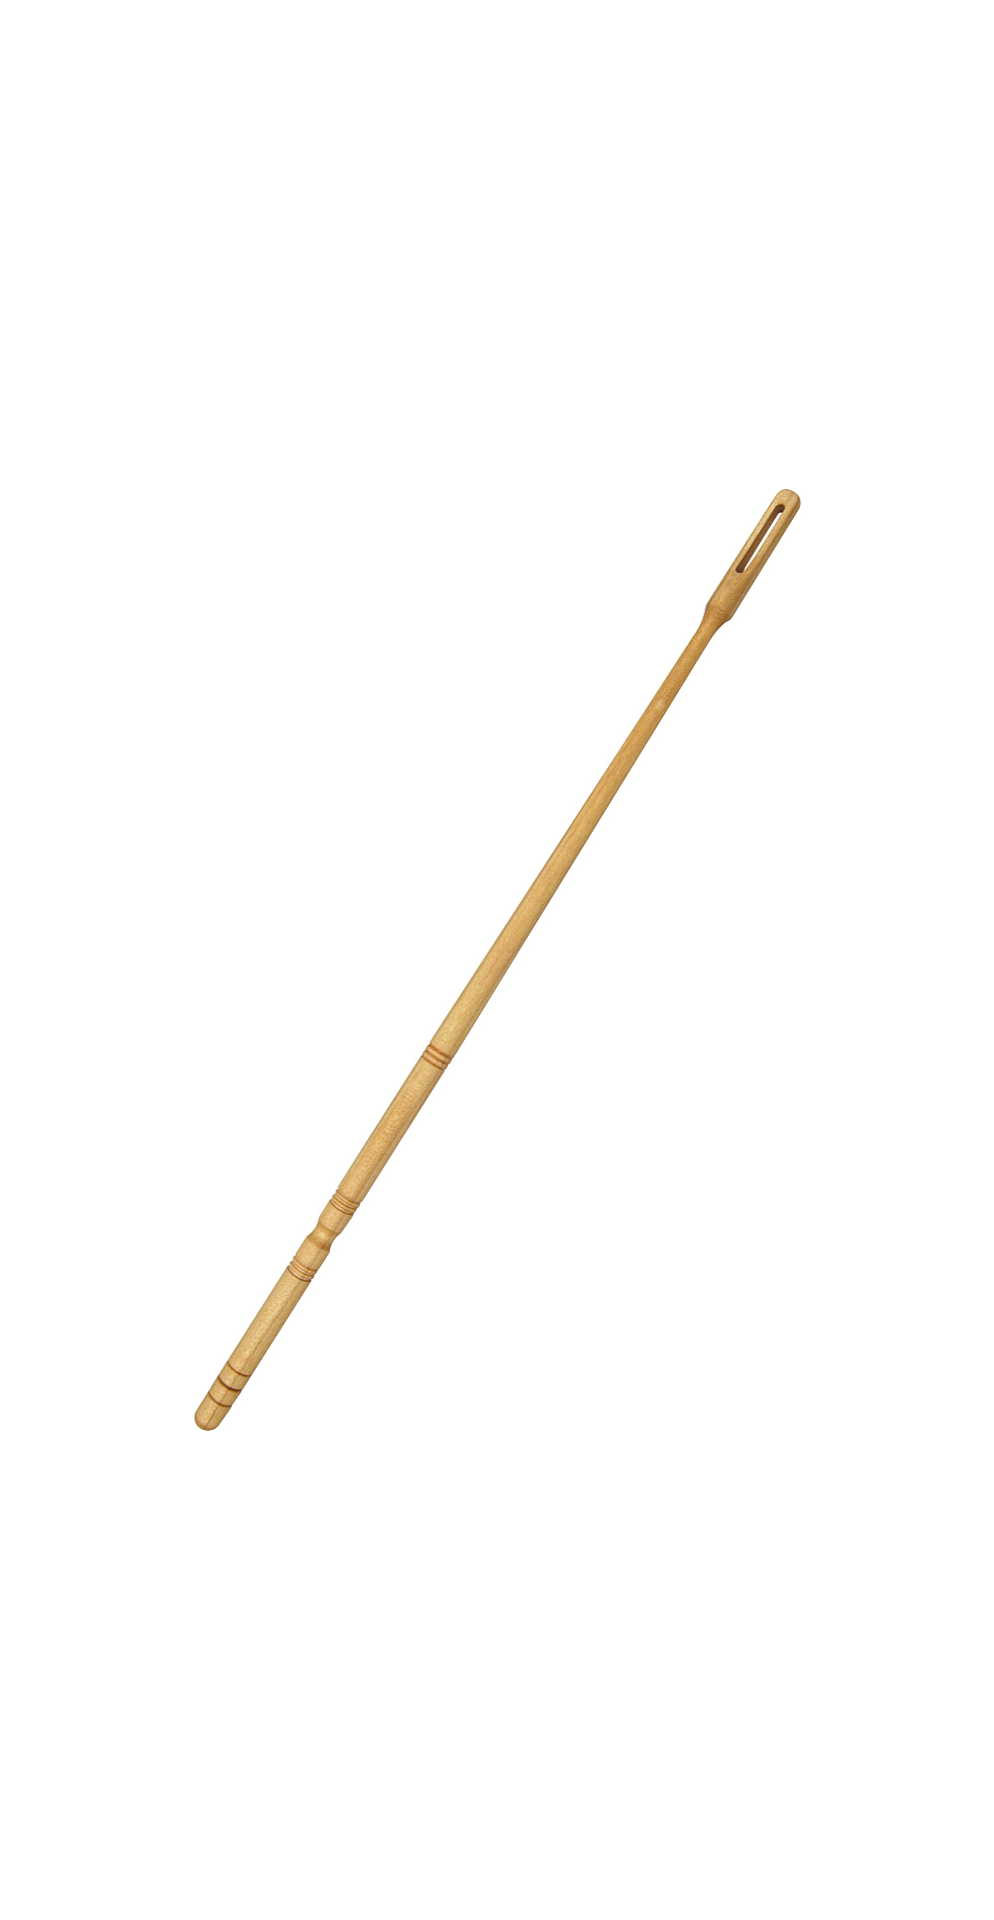
But first, you’ll need a couple of supplies. The first one is a cleaning rod. I recommend this one, from Woodwind Brasswind. Most flutes come with a metal or heavy plastic cleaning rod. I recommend using this one instead; because it is made of bamboo, it’s less likely to scratch the inside of the flute if the cleaning cloth falls down too low.
You’ll also need a long, narrow strip of soft fabric to put through your cleaning rod. If you have any old t-shirts laying around, those will absorb the excess moisture perfectly, especially if they’re made of all cotton. A piece of a pillowcase will also do the trick. The main thing is that the fabric is narrow and thin, so that it does not get stuck in your flute during the cleaning process. Now, onto the ‘how’ part of the equation.
The steps of flute cleaning are as follows:
- Gently unscrew the headjoint from the body. Shake out any excess condensation.
- Unscrew the footjoint from the body. Place all the pieces inside the case.
- Thread your narrow piece of fabric into the cleaning rod.
- Wrap the fabric (cleaning cloth) around the top of the rod, and thoroughly swab the headjoint with a gentle twisting motion
- Repeat this process for both the body and footjoint
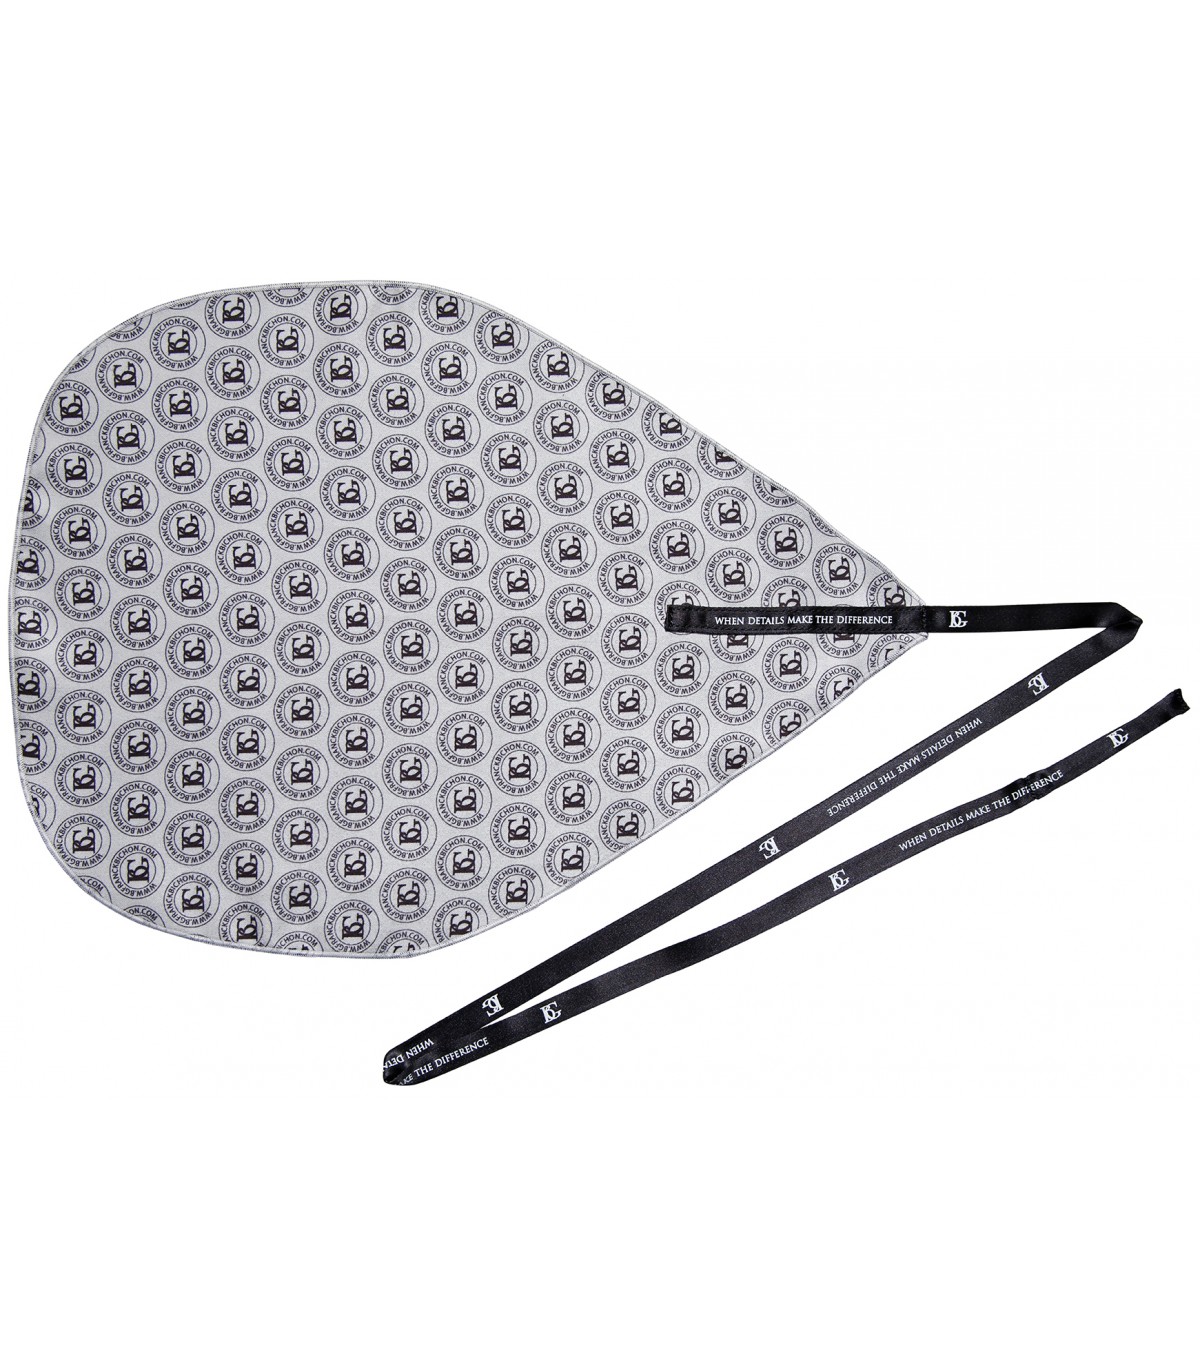
Another option for cleaning the body of the flute is called a drop-cloth. This is a piece of fabric that has a string with a weight attached to it, so that you can drop it though, and get the moisture out that way. Clarinetists and oboists tend to use drop cloths more often, since they don’t need to swab out their headjoints. I personally prefer to use the cleaning rod for the entire instrument.
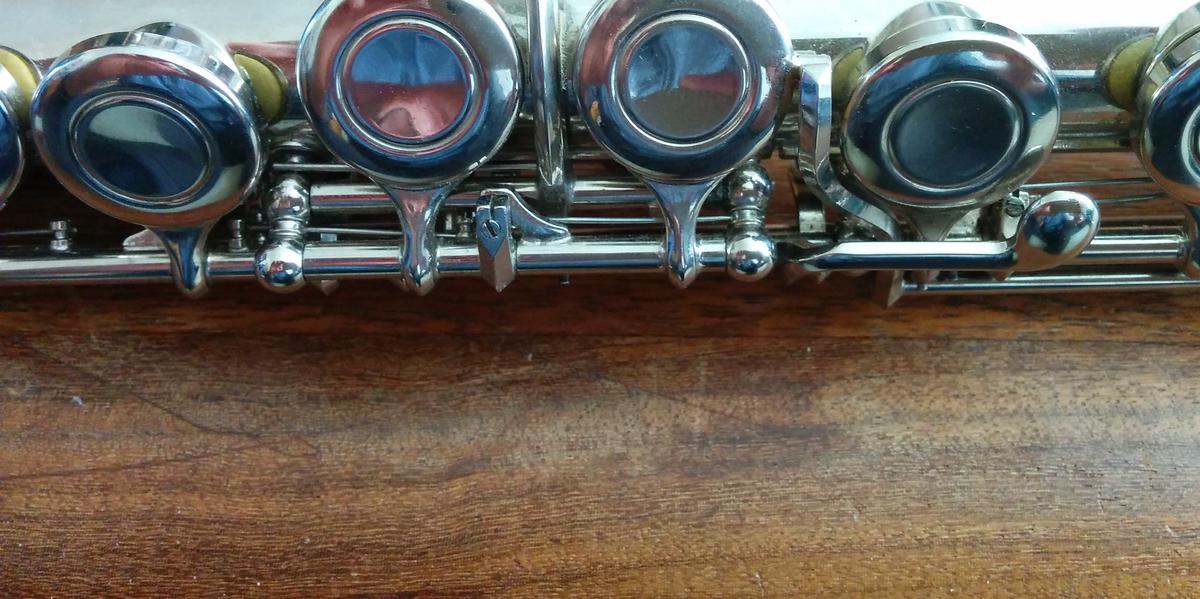
Another thing to note from our bullet points is this: the headjoint will always collect more condensation than the rest of the flute. Since it’s closest to your mouth and has more moisture, be sure to look at this piece very carefully.
All of this sounds simple enough, right?
But this is just the everyday clean-up routine. Let’s talk a little more in-depth about long-term flute care.
Long Term Flute Care
Even after months of proper daily care, your flute is going to need a little more attention.
The following steps should be taken at least once every month:
- Clean the inside of the embouchure hole with a cotton swab
- Wipe down the headjoint and top of the keys with alcohol swabs
To Shine or Not to Shine?
If you like your flute shining in those concert-hall lights, you can also use a flute polishing cloth after wiping down the overall surface areas with alcohol swabs. This prevents the flute from oxidizing.

Now, some flutists will notice more oxidation than others. One of my flutist friends from years ago, for example, noticed her flute darkening with oxidation after nearly every rehearsal! I remember being perplexed because that never happened to me. It might sound odd to mention, but we all have different chemical compositions of oil on our skin, which changes the rate of oxidation.
Now, mind you, this only really applies to you if you have a silver flute. Besides, in the case of letting your flute oxidize versus not, it just depends on the look you are going for. An oxidized flute plays the same as a shined one. I even once had a professor who insisted on me not shining my flute, as he said it had more character that way!
Flute Cleaning Faux-Pas’s
Now that we’ve talked about what to do, let’s talk about what not to do.
Don’t :
- Clean around the springs with a cotton swab
- Press down on the lip plate when you take the flute apart
- Leave your cleaning cloth inside the case
- Get aggressive with sticky keys
To start, doing anything with flute springs should be left to the hands of the repairman (or woman). Trying to shine around the springs and rod of the flute can lead to cotton getting stuck down in the sides. Or, even worse yet, the cotton can get stuck on important mechanisms, and pull things loose, causing notes to sound incorrect.
A more subtle detail about flute care is the way you handle it when you take it apart. Pressing down on the lip plate when removing the headjoint from the body can cause the thin metal to warp, and can alter the tone quality of the flute in an unsavory way.
Have you ever seen a saxophonist leave their fuzzy cleaning-swab inside the keys, and inside the case? This is the flute version of that, and, let me tell you, it’s very bad. If you leave your cleaning clothes inside the flute case, there’s no point in cleaning your flute! The moisture will be left in the closed container, which can soften and ruin your pads, which is no cheap fix. Always leave cleaning materials in the outer shell part of the flute case.
And lastly, one of the worst woodwind offenders there is the sticky key. The clacking sound and slow rise from the key will have any woodwind player looking for a quick fix. Oftentimes, woodwind players use dollar bills or cigarette papers to get rid of sticky keys. Both options work, but the cigarette paper has a special powder on it, so that will be more likely to fix your problem.
However, whatever you do, when getting the residue off of a sticky key, don’t hold the key down closed with the paper inside it, and pull it out hard! Doing so can fray your pads. And remember what we said earlier, that’ not cheap! Always gently tap your key on the paper to avoid damaging the instrument.
Closing
This article is only a mere beginning in the world of flute maintenance. However, the above tips will save you a lot of money and trips to the repair shop. Woodwinds are such delicate instruments, so I hope you take these tips on what to do, and what not to do, to heart. Remembering how to clean the flute is just as essential to a beginner as it is for a professional.
Flute care might seem overwhelming at first, but once you develop it into part of your daily routine, it will seem as natural to you as brushing your teeth.