In this article, we're going to discuss how to properly oil your trumpet valves, and present some quick solutions if you're experiencing sluggish valves, stuck valve caps, and stuck pistons.
It's important to note that cleaning and oiling your trumpet valves regularly will help most with general maintenance. In fact, I'd estimate that 90% or so of problems that I see in regards to valves are related to improper or lack of oiling and care. Make sure to check out our guide on cleaning your trumpet and which trumpet valve oil we recommend.
How To Oil Trumpet Valves
-
Start by finding a safe and comfortable position from which to oil your valves. You'll want to be able to utilize both hands. If you're in rehearsal, you'll probably find it the most convenient to lay the trumpet across your lap. As a trumpet and tuba player myself, I can't tell you the number of times that I have dripped valve oil on my pants while attempting to oil my valves, so you may want to consider putting a cloth underneath your instrument and on top of your lap.
-
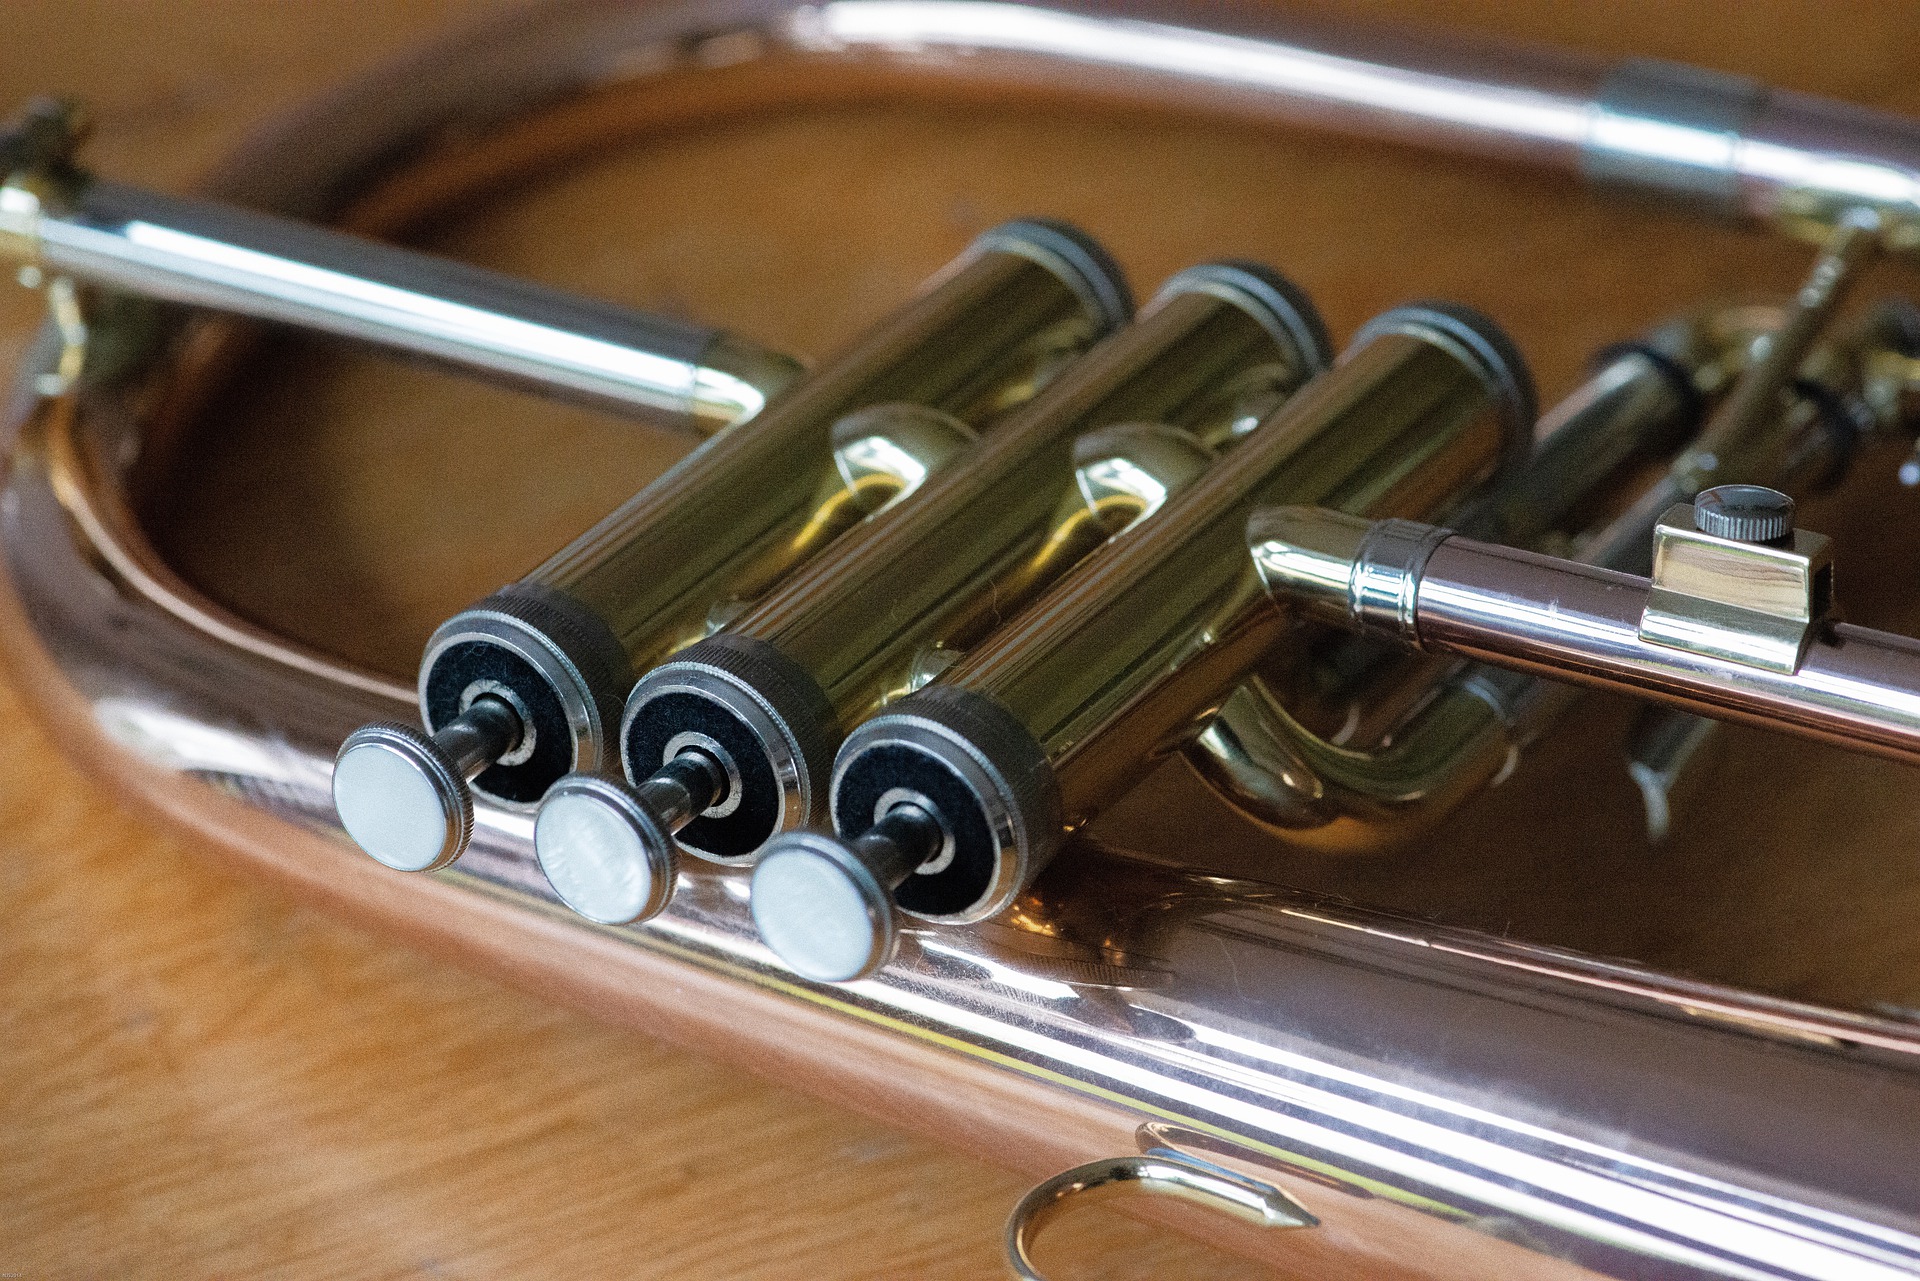
Unscrew the top of your first valve. For beginner players, I recommend oiling a single valve at a time to reduce any confusion when re-inserting the valves. With the top unscrewed, use your hand to slide out the piston, either fully, or at least to the point where you can see the silver part of the valve with holes in it. For convenience, it's usually fine to only pull out the valve part way.
-
Place a few drops of oil on the silver part of the piston, and let the oil run down the sides of the valve and into the casing. You don't want to excessively squeeze your valve oil bottle and squirt a stream of valve oil; that would be excessive. But allowing enough oil to drip down the sides of the valve is healthy for the instrument in order to be appropriately lubricated and flush out any debris that might have been lurking in the casings.
-
When you're finished oiling the valve, slide the valve back down into the casing. The number etched onto the valve should be facing forward, and the valve guide should be aligned with the groove in the casing. Screw the top of the valve back onto the casing.
-
After repeating the same process for each of your three valves, distribute the oil more evenly over the valves by pressing each of the pistons down several times.
You should be good to go! But here are some common issues and how to troubleshoot them in regards to your valves:
Help! I Can't Play After Oiling My Valves
A common mistake for young players occurs after they are finished oiling their valves. They try to blow into the trumpet, only to find that the air is blocked.
Fortunately, this is a quick fix!
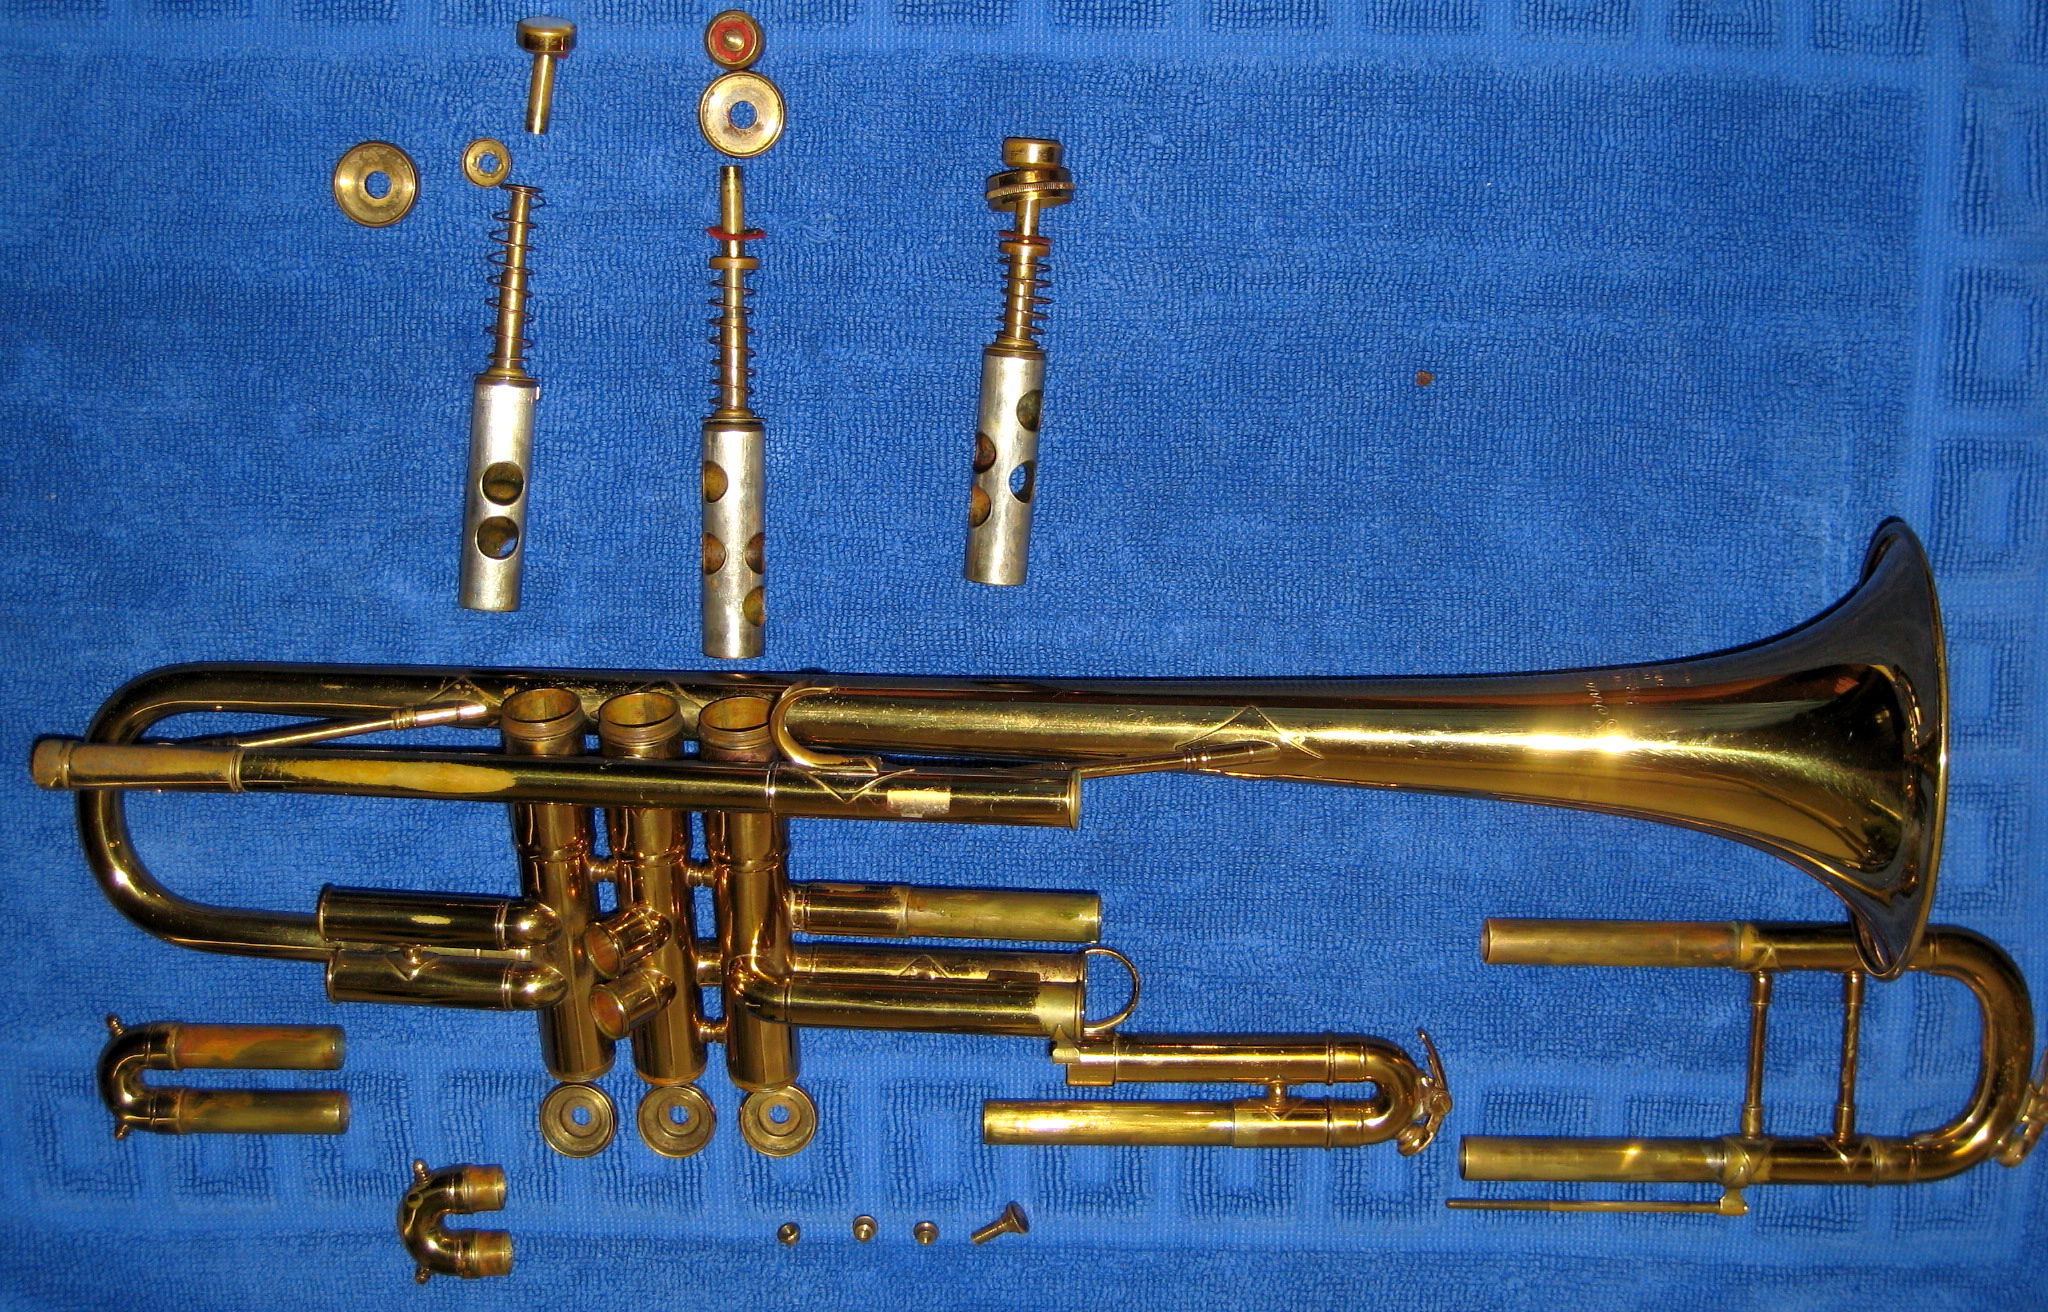
It's most likely that you mixed up the order of the valves when you inserted them back into their trumpet casings. This happens because each of the three valves is unique (not interchangeable) as the holes or ports in the lower part of the valve need to be aligned with the slides and tubing of the instrument.
Start by unscrewing the cap of the first valve casing. On the trumpet valve, you should be able to see the number of the valve (1, 2, or 3) that is stamped into the top part of the valve that holds the spring. The number 1 corresponds to the valve nearest your mouthpiece, and 3 is closest to the bell of the trumpet. If the valve in the first casing isn't number 1, you've solved your problem! Make sure that each valve gets put in its correct place.
To avoid this, I usually have students oil each valve at a time and return it to its casing before moving on to the next one.
If you're still unable to move air through the instrument, it may be that the valve is turned the incorrect direction. Make sure that the trumpet valve guide (the little plastic notch) aligns with the slot in the casing. This will prevent the piston from turning and blocking your air stream.
Just a heads up as we dig into some of the common DIY techniques for solving valve problems. While many trumpet players utilize these techniques and even swear by them, you should never attempt to do anything with your instrument that you feel uncomfortable about.
Remember, there are wonderful local instrument repair people who would love to have your business and help you out with your trumpet. No need to do everything on your own!
My Valves Still Feel Sticky After Oiling
If you have been oiling your valves, and they still feel sticky, there might be some other issues going on behind the scenes. Here are some common tricks to improve your valves:
-
Open up your trumpet valve and pull out the spring. Try stretching it out slightly; you can experiment here a bit. Just make sure that the lengths of each of the three springs stays the same.
-
On the topic of springs, if you have been playing on your instrument for a few years, or if the instrument is older, you may want to consider replacing the springs. The good news is that trumpet valve springs are a fairly inexpensive investment. You should be able to pick up a set for $5-$20.
-
Have you considered your technique lately? It's important to make sure you are pressing your valves straight down. If you push your valves down at an angle, it can cause them to stick over time.
-
Here's a weird trick - have you ever thought about using toothpaste? Believe it or not, toothpaste has a slight abrasive quality to it. You can dab a tiny amount on the inside of the valve casings or on the pistons themselves. Make sure any of the paste is wiped away; reinsert the valves, and move them up and down a few times. Word of caution: abrasive means exactly what you think it means. It's easy to remove metal, but the reverse is not! Though I have seen many use this technique, I don't do this with my own horns and instead opt for some of the safer DIY methods in this post.
How to Fix Trumpet Valves If They're Stuck
Best case scenario, you haven't applied valve oil recently, and a new application of valve oil does the trick.
Or perhaps residue has built up in the casings, and a quick swab will take care of business.
But it's important to note that even a small dent in the casing caused by hitting another instrument or music stand in rehearsal can prevent the valve from properly functioning. After all, the amount of space between the piston and the casing is extremely small, so any irregularity in its shape can impact the valve movement.
Another quick trick I have learned is that if the valve is stuck, you can often unscrew the bottom valve cap in addition to the top of the valve, remove the bottom valve cap, and then try to push the valve up from the bottom.
This gives you some additional leverage to be able to get the valve out. As always, if gentle pushing does not succeed, it's much safer to take it into a shop for repair than to damage the instrument if the valve is not properly aligned.
I Can't Unscrew The Valve
Another problem you may run into is the inability to unscrew the top of the valve or the bottom valve cap when trying to oil the valves.
This may be an issue of it being too tightly screwed on, like the top of a soda bottle, or because it hasn't been opened in a long time (if the horn has been collecting dust in the back of grandpa's closet).
As a band teacher, I had easy access to rawhide mallets from the percussion section. It's extremely important that you don't use a metal hammer as you don't want to damage the trumpet.
While laying the trumpet flat on a solid surface, use one hand to hold the trumpet in place, and use your dominant hand to lightly tap perpendicular to the stuck valve on the valve cap. Again, use light taps, not heavy hits as to prevent any damage to the instrument. With any luck, this should help dislodge the stuck valve cap and you can use your fingers to unscrew it the rest of the way.
Have any tips of your own for dealing with pesky trumpet valves? Reach out on our contact form!