What Is An Embouchure?
Whether or not you have ever learned about forming a proper trumpet embouchure, you've certainly used your embouchure if you've ever played a single note on the trumpet!
Your embouchure consists of all of the physical characteristics of your face that allow you to push air into your instrument. This includes your lips, tongue, teeth, shape of your mouth, and overall facial structure.
While there are other physical characteristics of your body that make an impact on your trumpet playing like your diaphragm, these are not considered part of your embouchure.
Forming a natural trumpet embouchure is essential for trumpet playing. Whereas the sound of woodwind instruments is formed by the vibrations of the reed, it's actually the lips of the trumpet player that are responsible for the vibrations necessary to produce sound.
So how do we get our lips to vibrate naturally?
Forming Your Embouchure
Start by saying the letter "M". Next, say it again, but hold the m sound out, so it's more like "Emmm."
Try to keep this as natural as possible, not rolling in your lips or adding any additional tension.
You should feel how the corners of your mouth move - try to "firm them up," while keeping the center of the lips as relaxed as possible. You don't want to purse the center of the lips.
Adding Air
Now that your trumpet lips are set, it's time to start to blow air through our embouchure.
Keep in mind, we're not buzzing yet, and we're still not even touching the instrument.
We simply keep our embouchure set with the "Mm" shape, keeping our corners firm, and now we can start to blow air through our lips. The air pressure will gently force the centers of our lips to open slightly to let the air escape.
This opening is known as the aperture, which is controlled by your embouchure.
Mouthpiece Positioning
We want to place the mouthpiece correctly on our face before we think about buzzing.
Typically, you'll want to have 50% of your top lip and 50% of your bottom lip against the mouthpiece, which is centered on your face.
There are certain considerations, such as if you have crooked teeth, scarring, or lip deformity that might require an embouchure change, but by and large, a 50/50 or 1/3 top, 2/3 bottom is usually the preferred approach.
Practice saying "Mm," placing the mouthpiece on the lips, and then blowing air.
Buzzing
Stepping away from the trumpet mouthpiece for a moment, let's try to buzz with just our lips.
Just as we did with our air stream, keep the corners of your mouth firm. One of the common issues we see with beginners is that they try to tighten the centers of their lips in an attempt to apply pressure, rather than keeping the centers more flexible while keeping the corners tight.
It may also help to moisten your lips a bit as well.
Once you are able to free buzz on a single pitch, practice by adding the mouthpiece (positioning it as we did above).
It's important to note that trumpet teachers have various opinions when it comes to trumpet buzzing as a normal part of your practice routine. Some suggest a regular regimen of free buzzing and mouthpiece buzzing, while others believe that buzzing on a mouthpiece is too different from the act of playing the trumpet and may add additional tension.
But regardless of recommendations for continual buzzing practice, almost all teachers recognize the importance of beginning trumpet buzzing as it helps students focus on their embouchure and air stream before adding the complexities of the trumpet itself.
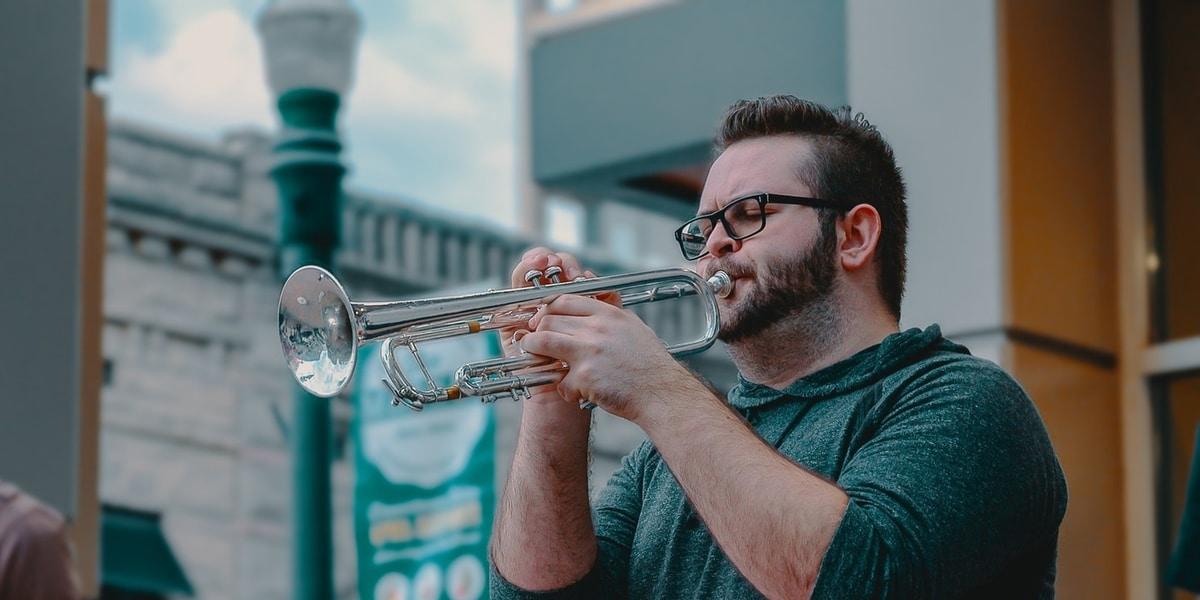
Now one tool I recommend for getting the most out of your buzzing practicing is called the BERP.
The Buzz Extension and Resistance Piece is a small plastic receiver that clamps onto the leadpipe of your trumpet and allows you to insert your trumpet mouthpiece.
With the mouthpiece inserted, you can practice buzzing exercises with various amounts of resistance, which can be controlled with an adjustable dial.
There are a couple of really helpful advantages to buzzing while using the BERP:
- When you're buzzing, you want the act of buzzing to feel as similar to playing your trumpet as possible.
If you're constantly pulling off your mouthpiece and setting your trumpet down, it can be annoying to switch back and forth.
Additionally, being able to practice fingering, hand positioning, and keeping the same air direction all while buzzing makes it very simple to transition.
- Adjusting the resistance will make passages easier to play back on the trumpet.
Because you can easily adjust the resistance with the turn of a dial, this is ideal for beginners to professionals alike.
Once you go from the mouthpiece with additional resistance back to the trumpet, your playing will naturally feel more open and resonant.
Now while the BERP is made for trumpet players of all ages and ability levels, the next tool I use is most commonly used by trumpet teachers and band teachers.
That doesn't mean that it wouldn't be of benefit to players, but it's something that I use all of the time as a teacher with my students.
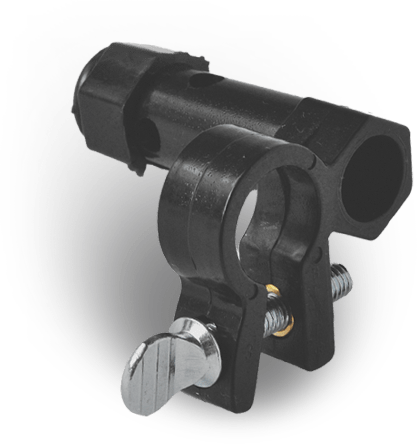
An embouchure visualizer is helpful both for students to see and try to emulate what is happening with my embouchure, as well as be able to see and modify their own embouchure.
We can see whether the mouthpiece alignment on top and bottom lip is appropriate, the placement of the jaw, and any additional tongue movement.
This visualizer tool works especially well in conjunction with a mirror, allowing students to see their embouchure from different angles.
There are a couple of variations of this tool, one for just the trumpet, and another that has two separate ends - one for trumpet, and the other for trombone.
My personal preference is just to go with the trumpet one as the connecting rod can be a little flimsy and can break.
Aside from that, it's a great old-school tool to quickly be able to see one's embouchure.
Another great option would be to purchase a Kelly clear Lexan mouthpiece.
These are fun mouthpieces to play on anyways, with the added advantage that with the clear model, we can easily see a student's embouchure while playing on a real mouthpiece.
Adding The Trumpet
Have you heard the expression, "Guns don't kill people, people kill people"? Stripping any political implications from this, this is the same philosophy that can be applied to free buzzing, mouthpiece buzzing, and playing a pitch on trumpet:
Trumpets don't play notes, trumpet players play notes.
It's not the instrument or the mouthpiece that does the buzzing, it's the lips themselves.
Consider the following: Try free buzzing a pitch like G or A in the treble clef without use of your instrument. Make sure that the buzz is a clean sound, free from an extraneous noise.
Next, press the correct valves down on your trumpet and slowly raise it to your face until the mouthpiece is aligned with your lips.
You should hear the correct pitch emanating from your trumpet.
Now for more advanced musicians, this might seem entirely obvious.
But this is such a powerful exercise for young musicians who start to realize that they themselves are in control of their bodies and their sound. It's not the trumpet's job to create the vibration; it's up to us to control it with our embouchure.
How Can I Strengthen My Embouchure?
In the same way that athletes build their muscles in order to increase their physical performance, so too do brass players strengthen their embouchures in order to achieve better tone quality, agility in playing, and range.
When I was a young brass player, I remember my middle school band teacher showing me some images of trumpet embouchures. Now perhaps, for the right visually-inclined young musician, pictures would do the trick.
But for me, it was incredibly difficult to take a outlined image of "proper trumpet embouchure" and try to implement any physical differences in my playing.
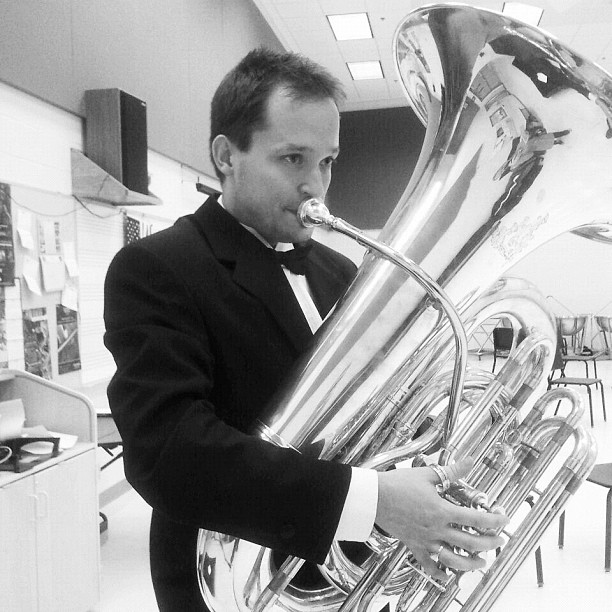
Now to be fair, there are many different approaches when it comes to implementing a trumpet embouchure change. Some teachers like Arnold Jacobs (tuba) would focus on the imagery of the tone itself - how can you produce a larger sound? While other teachers focus on the technical, physical improvements needed to strengthen the embouchure.
I myself (and on behalf of my students) have found the most success when we focus on small, tangible, physical improvements that we can make.
P.E.T.E. Personal Embouchure Training Device
Like Going to the Gym - For Your Mouth!
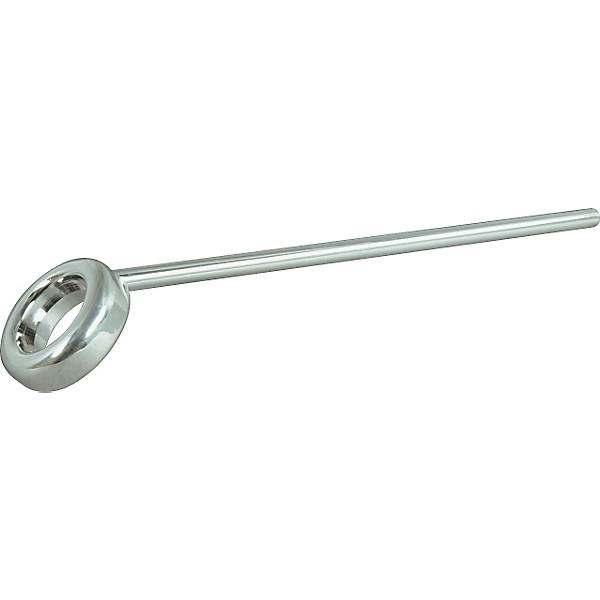
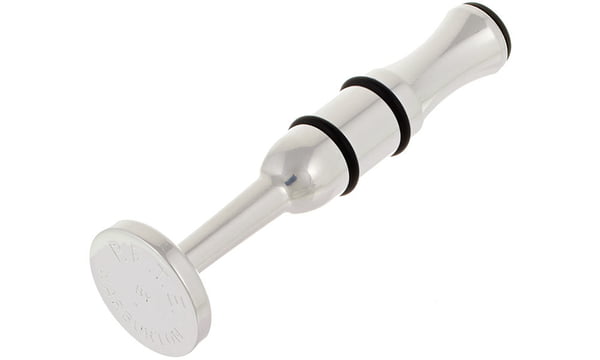
One of my favorite tools to strengthen embouchures is the Warburton PETE. The PETE, or Personal Embouchure Training Exerciser is a relatively simple tool which yields huge results for those who are trying to improve the strength of their embouchure.
There are are two ends of the PETE, one with a disc and one with a narrow end, that allow for two different types trumpet embouchure exercises.
Start by inserting the larger disc end behind your lips and in front of your teeth. By pulling gently outwards on the PETE, you'll engage your lips in a game of tug-of-war. When you resist this motion with your lips, you'll be able to build up these muscles over time.
The other practice exercise is to use the more narrow end of the PETE, also placing it between your lips and teeth. This time, rather than resisting a tugging motion, use your lips to squeeze the PETE from all directions. You don't have to remove your hands to sustain it solely with your lips, but it's important to try to keep it centered by evenly distributing the pressure of your lips.
Two exercises? Is it really that simple?
Think of these exercises as your trumpet playing equivalent of lifting weights at the gym. By using simple, repeated, targeted muscle building exercises, we can build our embouchure strength over time.
Tools Recommended In This Article
For trumpet players of all levels:
BERP - perfect for buzzing practice but on your trumpet
PETE - builds up your embouchure muscles like you're at the gym
For teachers to help students visualize their embouchure:
Embouchure visualization tool
Kelly clear mouthpieces