Clarinet tuning is a skill that every clarinetist should learn during their first years as a clarinetist. Tuning is not an easy skill to grasp, so it is important to incorporate tuning exercises into your daily practice. Furthermore, tuning requires the musician to be constantly listening and adjusting.
This article will discuss the basics of tuning, tuning the clarinet, factors that affect intonation, and tuning exercises. There are also videos included in this article to help demonstrate how to tune the clarinet.
What is Tuning?
Tuning is the adjustment of the instrument, embouchure, oral cavity, posture, or air support to having the instrument play in tune. Furthermore, it is the adjustment of musical pitches to match a reference. The reference pitch for the United States is A=440Hz. The concert pitch A above middle C vibrates at 440 vibrations per second if in tune. Ensembles in the United States tune to A=440Hz. Cents is the unit of measurement used to measure how flat or sharp the instrument is. The more out of tune the instrument is, the bigger the cents number will be.
Tuning in Ensembles
Orchestras will tune to the concert A because all string instruments have an open A string. Tuning an open string on string instruments will ensure stability. Since the concert pitch is an A, the clarinet will play the B right above it. This is because the clarinet is a transposing instrument. The tuning is traditionally done by the oboe because its sound is very distinct and stable.
Many band ensembles, especially in middle school and high school, will tune to a concert Bb. Band ensembles tune to a concert Bb because many band instruments have a "home" key of Bb. In other words, they are transposing instruments in the key of Bb. For example, a trombone is a Bb instrument. When they buzz into their instrument with the slide all the way in, the fundamental pitch that is played is a Bb. The same goes for trumpet, tuba, and euphonium. The only exception is the french horn which has a home key of F. Since the concert pitch is a Bb, the clarinet will play a C.
Tuners
A very important investment in every musician's journey will be a tuner. There are many tuner apps that one can download on their tablet or phone. You can also find online tuners on a computer. My favorite tuning app is called TE Tuner. There are also portable tuners that I will link below.
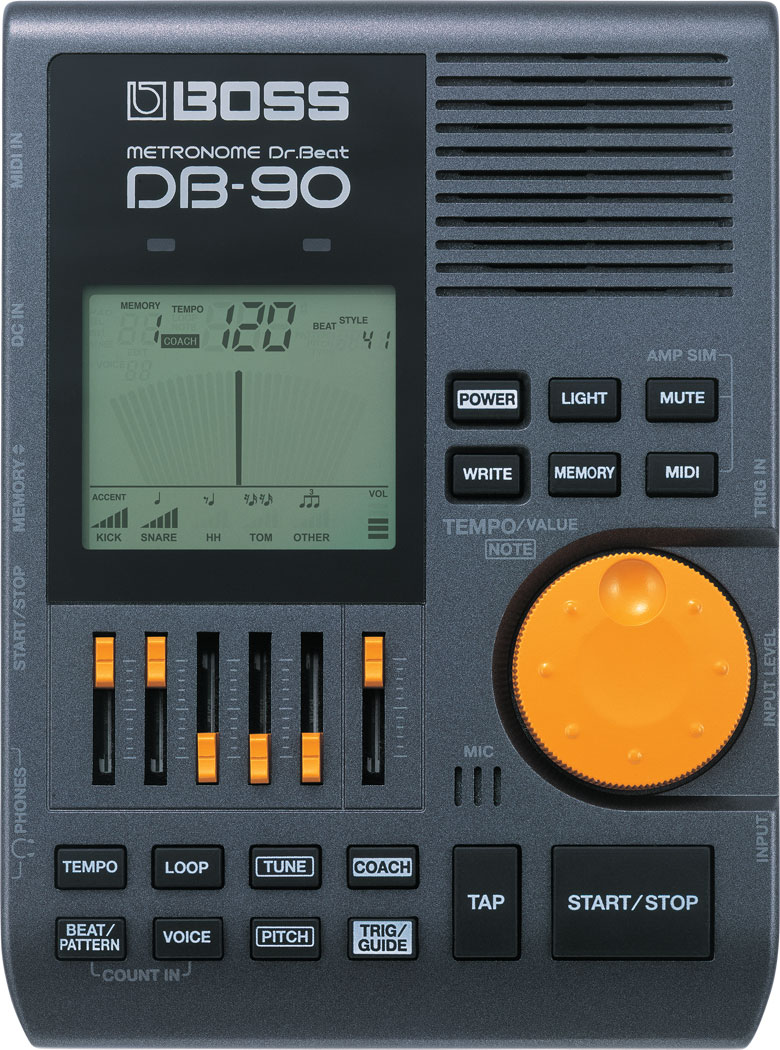
Another option is the Korg TM-60 Tuner Metronome.
Tuning the Clarinet
Adjusting the Instrument
In this video, Michelle Anderson walks through the process of tuning the clarinet. She also discusses common pitch tendencies on the clarinet that affect tuning. First, she discusses the basics of tuning. The clarinet was designed to play sharp. It was designed this way because our pitch is greatly affected by temperature.
If the temperature of the room rises throughout a rehearsal, the clarinet's pitch will go sharper. Similarly, as we play our clarinet we are constantly blowing hot air through the instrument. This also causes the clarinet's pitch to go sharper. It is easier to fix pitch issues if our instrument is sharp rather than flat.
Next, she talks through the adjustments that should be made when tuning the clarinet.
The first adjustment is between the barrel and the top joint. If the clarinet is sharp, pull the barrel out just a little bit. This will lower the pitch of all of the notes, especially throat-tone notes and notes that are played with the left hand.
The second adjustment is between the top and bottom joints. This adjustment will lower the tendencies for right-hand register keynotes. When making this adjustment, be careful not to damage the bridge keys. Also, make sure the bridge key is aligned after adjusting.
The last adjustment is between the bottom joint and the bell. This adjustment lowers the pinky notes when all of the other fingers are down. You do not need to make all three of these adjustments to tune your clarinet.
A lot of tuning is trial and error. If you make an adjustment one way and it is still not in tune, go the other direction.
Pitch Tendencies
Every clarinet will have different tendencies. Some notes will always be sharp and others will always be flat. It is important to know the tendency of every note on your instrument.
Michelle lists the most common tendencies for clarinet. Throat tones are commonly sharp. As we have discussed, throat tones can be adjusted by pulling the barrel out. However, this cannot always be done in the middle of a performance or rehearsal. This is where alternate fingerings come to the rescue.
Alternate fingerings help us lower or raise the pitch without having to adjust our instrument. For example, we can lower the pitch of our throat tones by adding fingers/depressing keys. Similarly, if there are flat notes, depress keys that open up tone holes. This will help raise the pitch. While these alternate fingerings are very helpful, they can affect the quality of the sound.
If you are using the alternate fingering in passages that are slow, sustained or very vulnerable, make sure that the sound and tone quality are also good.
It is hard to remember the tendencies for all of the notes on the clarinet. I recommend finding a pitch tendency chart for clarinet printable online.
To fill out the pitch tendency chart, you'll play each note that is listed as a long tone in front of a tuner. Sustain the note until the tuner is close to stable. Then, fill in the chart with the tendency of the note you just played. After filling it out, keep it either in your case or in a music folder so it is always with you.
Adjusting the Embouchure
The embouchure is the mouth and muscle formation necessary for creating a sound on the clarinet. If your clarinet embouchure is not in the correct formation, it can cause intonation problems.
For example, if the corners of your mouth are not firm and your chin is not pulled down, your sound will be very sharp and thin. If the sound is flat, relax the embouchure just a little bit. The embouchure may have been too firm.
Adjusting the Oral Cavity
In this video, two clarinet and saxophone experts discuss the oral cavity/tongue position. The oral cavity is also known as tongue position. The oral cavity greatly affects sound quality.
The oral cavity and how it works is a difficult concept to grasp and understand because it is all internal. We have to rely on our memory of certain tongue positions creating certain sounds. One trick that the experts talk about is imitating syllables.
For clarinet, say the syllable "ee". Can you feel the back of your tongue go up? If not, say the syllable "ah". You should feel the back of your tongue drop. Another way to bring your oral cavity up is to whisper the word "he".
When the clarinetist transfers this over to the clarinet, you can hear a big difference between playing with an "oh" tongue position vs. an "ee" tongue position. The sound when having an "oh" tongue position will sound foggy, dull, and out of tune. The sound when having an "ee" tongue position will sound more focused, clear, and in tune.
In essence, tongue position has a huge effect on intonation. This concept is not always taught to clarinetists. I first learned about my oral cavity halfway through high school. I learned about my oral cavity more in-depth when I was in college. I recommend teaching or learning about controlling the oral cavity muscles early on in the clarinetist's journey.
If beginners disregard the oral cavity muscles, they can develop bad habits that are hard to unlearn. Furthermore, if the clarinetist is always out of tune due to intonation issues regarding their oral cavity,
Below are two exercises that will help you control and strengthen your oral cavity.
Sirens
A fun exercise to do that strengthens the oral cavity is "sirens". When you hear a siren, it doesn't just stay at one pitch. It fluctuates from high to low. You can do that on your clarinet, too!
First, I recommend starting on just the mouthpiece and barrel. The note that should sound when playing the mouthpiece and barrel is an F#. Once you've gotten the F# in tune, start moving your oral cavity up and down.
Start by imitating the "he" movement and then the "ah" movement. Remember to keep the embouchure firm. The embouchure shouldn't be moving with your oral cavity.
Also, avoid squeezing or firming up your embouchure. Once you've established the siren on the mouthpiece and barrel, try it with different notes on the clarinet.
First, you pick a note to sustain. I find that the best notes for this exercise are notes in the clarion and altissimo range. My favorite note to play in this exercise is a clarion B (thumb, register key, and first finger).
Next, you move your oral cavity up and down by imitating the "ee" and "ahh" movements. While doing this exercise, remember to keep your embouchure in place. The embouchure should not move while the oral cavity is moving.
Bugle Calls
Another fun exercise to do for the oral cavity is called "bugle calls". If you listen to a brass instrument, let's say trumpet, you can hear that they play multiple notes on one fingering. Guess what, the clarinet can do that, too!
For example, if you play a high C (thumb and register key) and then move the oral cavity up, imitating the "ee" movement", a higher note will be played. The same goes for moving the oral cavity down; a lower note will be played. This exercise is different from sirens because each note is played separately, not as a part of one sustained note.
Adjusting Posture and Air Support
Having poor posture will affect your air support. Poor posture won't allow you to fill up your diaphragm with enough air.
To correctly tune your clarinet and play in tune, you need your diaphragm to be full of air. Furthermore, your body needs to be in an effective posture that will allow you to use your full diaphragm.
Factors That Affect Tuning and Intonation
Temperature
If the temperature is warm, the pitch will be sharper. If the temperature is colder, the pitch will be flatter. Before playing, you must warm up your clarinet by blowing warm air into it.
Avoid playing on a cold instrument right away because that can cause the wood to crack. Warm up the clarinet with warm air and body heat.
Dynamics
If you have practiced long tones with a tuner, you probably have noticed that long tones at a louder dynamic will be lower in pitch compared to long tones at a soft dynamic. Louder dynamics will cause the pitch to be flatter. Softer dynamics will cause the pitch to be sharper.
When tuning, play the tuning note at a mezzo-forte dynamic. My college band director would always say, "Don't play louder than your neighbor".
When tuning, especially in an ensemble, it is important to not only listen to yourself but to the rest of your section and ensemble.
Reed Strength
Softer reeds tend to be flatter. Harder reeds will be sharper, as well as hard to play. It's important to find reeds that will provide you with a beautiful sound and good intonation. I recommend getting reeds that are slightly too hard because there are ways to make them slightly softer. Harder reeds are also better for embouchure and air support. Check out my article, The Best Vandoren Reeds For You to learn more about the different kinds of Vandoren reeds.
Alternate Fingerings/Resonance Fingerings
Some notes may naturally be out of tune. To help with that, there are alternate and resonance fingerings.
If the notes are naturally sharp, experiment with pressing more keys down to lower the pitch.
If the notes are naturally flat, experiment with opening more keys to raising the pitch.
However, make sure that you aren't pressing down or opening up keys that will change the note completely. You will also want to listen to the quality of sound with the new fingerings. Yes, it may be in tune but is the sound too dull or too bright?
Mouthpiece
The two sections of the mouthpiece that affect tuning the most are the baffle and the chamber. For example, throat tones are lowered in pitch by removing material from the baffle. The removal of material also creates a larger chamber.
Certain mouthpieces are tuned differently. For example, the Traditional Vandoren clarinet mouthpieces are tuned to A=442Hz, whereas the Vandoren Series 13 mouthpieces are tuned to A=440Hz.
Even though mouthpieces are tuned to A=440Hz/442Hz, this doesn't mean your sound will always be in tune.
When choosing a mouthpiece, always test the mouthpiece with a tuner. You want to find a mouthpiece that offers quality sound and accurate intonation. It is not worth it if you purchase a mouthpiece that provides a quality sound but poor intonation. You will also want to try the mouthpiece with a variety of different clarinet reeds.
Barrel
Some clarinetists may need to pull out their barrel an excessive amount to be in tune. This can cause the throat tones to be extremely flat. There are two solutions: tuning rings and a longer barrel.
Tuning rings are hard, O-shaped rings that fit inside the clarinet's bore at the bottom of the barrel. The tuning rings occupy airspace, creating higher-pitched throat tones. I have not used tuning rings before. I recommend talking with either your band director or a clarinet expert about tuning rings before making a purchase.
A longer barrel will help lower the pitch. The shorter the barrel, the sharper the sound will be. The longer the barrel, the lower the sound will be. Most United States barrels are 65mm-66mm. Purchasing a new barrel to help with tuning can be an expensive process.
I recommend getting advice from either your band director, private instructor, or a clarinet expert. From there, I recommend going to a music store that allows you to try the barrels. With that, I recommend having an expert there with you to help guide you through the process.
Tuning Exercises
Tuning takes practice. Tuning is one of the hardest skills to grasp on the clarinet because there are so many factors that play into tuning. I didn't practice tuning until my junior year of college when I was a part of the top ensemble. I highly recommend incorporating tuning exercises into your daily practice routine.
Below are tuning exercises that my clarinet section would do at the start of every sectional. I would also do a variation of these exercises when I practiced by myself. I will include instructions for group practice and individual practice.
Chord Building: Major and Minor
Group
First, it is important to understand that in major chords, the third and fifth of a chord are not perfectly in tune. The third should be a few cents flat and the fifth should be a few cents sharp. Therefore, a tuner should only be used by the person playing the root.
For this exercise, it is best if the group sits or stands in a circle. One person begins by choosing a note. The person to their right will play a fifth above person one's note. For example, if person one was playing a C, then person two would play a G above.
Person two must adjust their fifth to the root. While the root is being sustained, person two should be listening to the root and hearing what the fifth should sound like. Then, they come in with the fifth, making it as in tune with the root as possible.
When the fifth is out of tune with the root, you'll hear waves. If the fifth is too sharp, the waves will be very fast. If the fifth is too flat, the waves will be slow. Adjust what you need to in order to make the pitch in tune. Once it is in tune, you won't hear any more waves and the two pitches will blend very nicely together.
After the root and fifth are in tune, the person to the left of person one will play the third. For our example, person three would play an E above root C. Similar to the root and fifth, if the third is out of tune you will hear waves. Once the chord is in tune, the person who played the third will now play a new root.
Individual
This exercise can be done when practicing individually. Instead of playing chords, you'll be playing intervals. Find either a website or an app that will play a sustained note for you.
This is also known as a drone. Most tuning apps will have this feature. Pick a random note for the tuner to sustain. Once the root is sustained, play either a third, fifth, or octave above.
Listen for waves that indicate that your pitch is out of tune. Once your interval is in tune, try the exercise with a different note as the root.
Pass the Note
Group
This exercise also works best sitting or standing in a circle. In this exercise, one person will choose a note to play. For example, person one chooses to play a B. Once they have chosen a note, they will also pick someone else to play the note with them.
The two clarinetists will play the note at the same time. If the two notes are out of tune with each other, you'll hear waves. Both clarinetists should be adjusting to make the two pitches in tune with each other. Once the pitches are in tune, move on to the next person.
Individual
This exercise also requires a drone. You will pick a note to sustain and then play the same note on your clarinet. Make the adjustments needed to make your note in tune with the drone. Once that pitch is in tune, choose another note.
In this video, Kimberly Cole Luevano from the University of North Texas demonstrates a drone tuning exercise. First, she sets the drone at a concert Bb. Since clarinet is a transposing instrument, she plays the C right above the Bb. While she sustains the pitch, she notices that she is sharp. She pulls out between the top and bottom joints to bring the pitch down. The next pitch is a concert F which is the clarinet's open G. For this pitch, she notices she is flat. She pushes her barrel in, raising the pitch to make it sharper.
Bend the Note
This exercise has the same instructions for group practice and individual practice.
One person goes at a time and everyone plays the same note. You should have a tuner for this exercise. You will sustain a note, a B for example, until it is in tune. If it is out of tune, make adjustments.
Once the B is in tune, move your oral cavity down to make the pitch as flat as you can. Once you've made the pitch flat, move your oral cavity back up to make the pitch in tune again. Next, move your oral cavity up to make the pitch as sharp as you can.
Once you've made the pitch sharp, move your oral cavity back down to to make the pitch in tune again. Take breaths when needed throughout this exercise. This exercise can be done on any note.
Closing Thoughts
Tuning is a never-ending process of learning, adjusting, and improving! Stay patient, use your ears, and practice every day.